Showing posts with label RT707. Show all posts

Friday, July 17, 2009

AN: More photographies

They were shot two days ago.


Saturday, July 4, 2009

AN: Photographies

I know that in the last weeks I didn't update the blog, but I've been busy with lot of work during week and most of the remaining time has been spent in my hobbies. Also here is very very hot and sunny, during the day it's 30 ÂșC (measured in shadow) and my home is most of the time shot by the sun.

I finally bought some tools to help me to repair and calibrate reel to reel decks, including scopemeter, millivoltmeter, tentelometer and digital weight scale. Soon I want to write a complete article about all the DIN plugs of the Uher 4400 Report Monitor. I made most of of the adapters for my unit and I'll share all the info I've got, including about the Z124 charger.

But until that day, I'll put here some pics shot during these days.

My second Pioneer RT-707 with ReVox 7" metal blue reels


Uher 4400 Report Monitor


Recording trains into the Uher 4400 Report Monitor


Two Pioneer RT-909

Saturday, November 8, 2008

REP: Changing Pioneer RT-707 direction lamps for leds

Today I was working a Pioneer RT-707, putting some grease in the capstan motor and adjusting the fly wheel when both direction lamps burned. It's rare that both lamps burn at the same time, but I think that this happened because they were in their last hours, and after manipulated the deck, putting it up, down... etc, finally the filaments broke.

Fortunatelly I had some leds left at home, so I began to replace both direction lamps with leds. The voltage to the lamps is about 26VDC, so a balast resistor is needed in serial with each led. I used 5mm width leds, that enter perfectly in the hold.

In a first time I tried a 1.3Kohms. 1/4 watt. After testing, it got too hot, so I tried a 2.2 Kohms. and with more wattage. Tested that first one led with it and all was working well.

Here is the procedure I followed to change the direction lamps with leds.


1- Remove the deck cover. Four philips screws in each side and three more in the upper.


2- Remove the front panel. Two philips screws and three more in the bottom. Remove the pots knobs of MIC and LINE controls. Also the pinch control knob. To remove the front panel now, both pinch roller must be pushed up manually and with care, pull the panel.


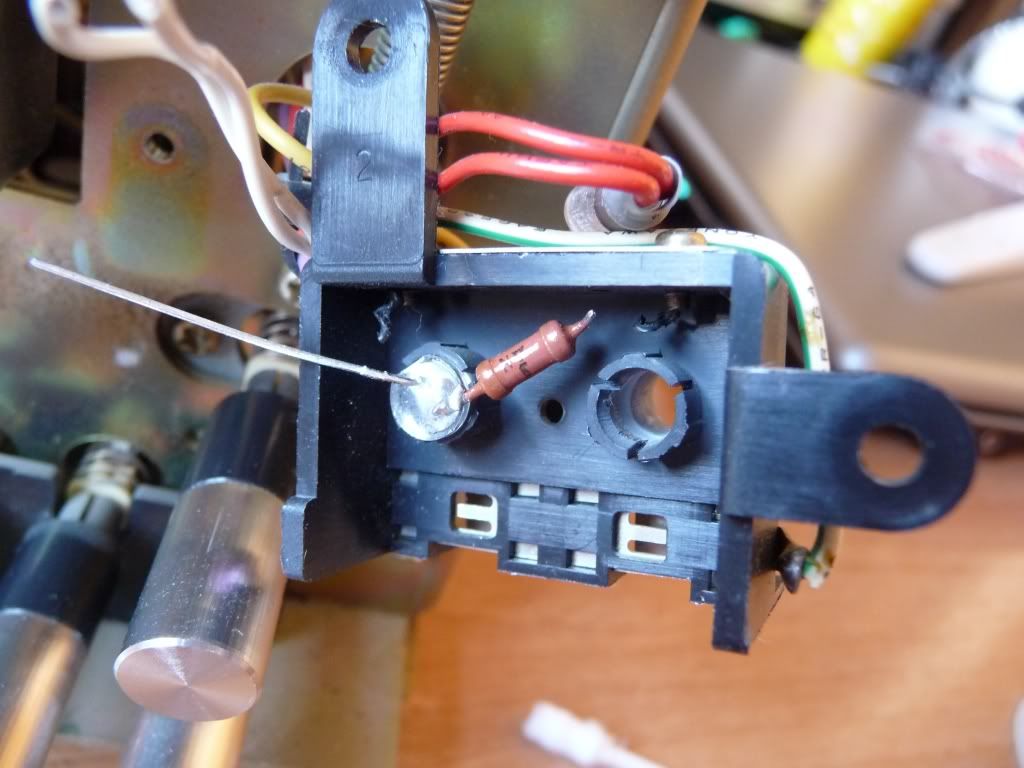
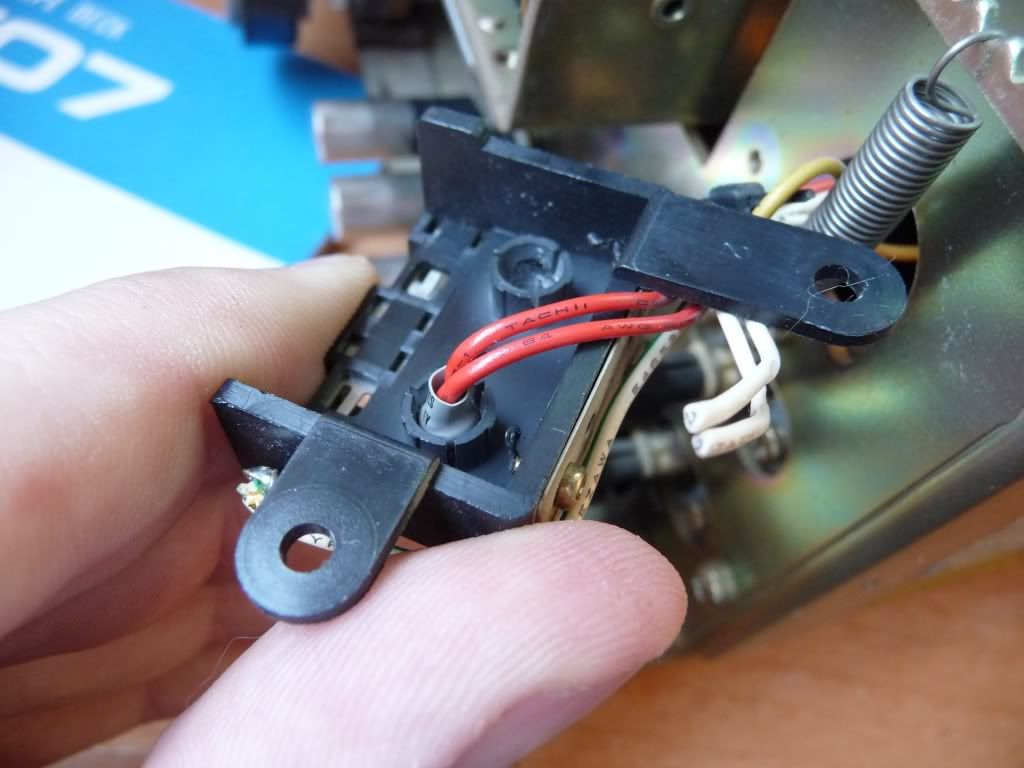
3- Both direction lamps are in a small black socket. To remove it, unscrew the two philips screws.
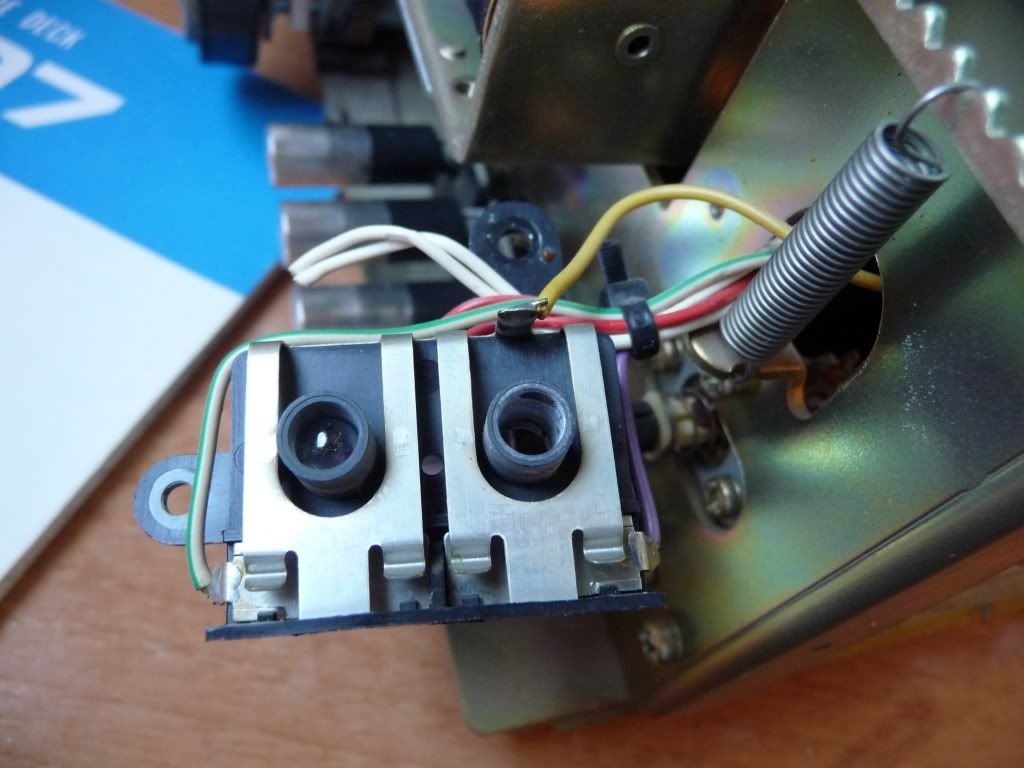


Each lamp is inside his hole and can be removered simply pulling the lamp from their wires.


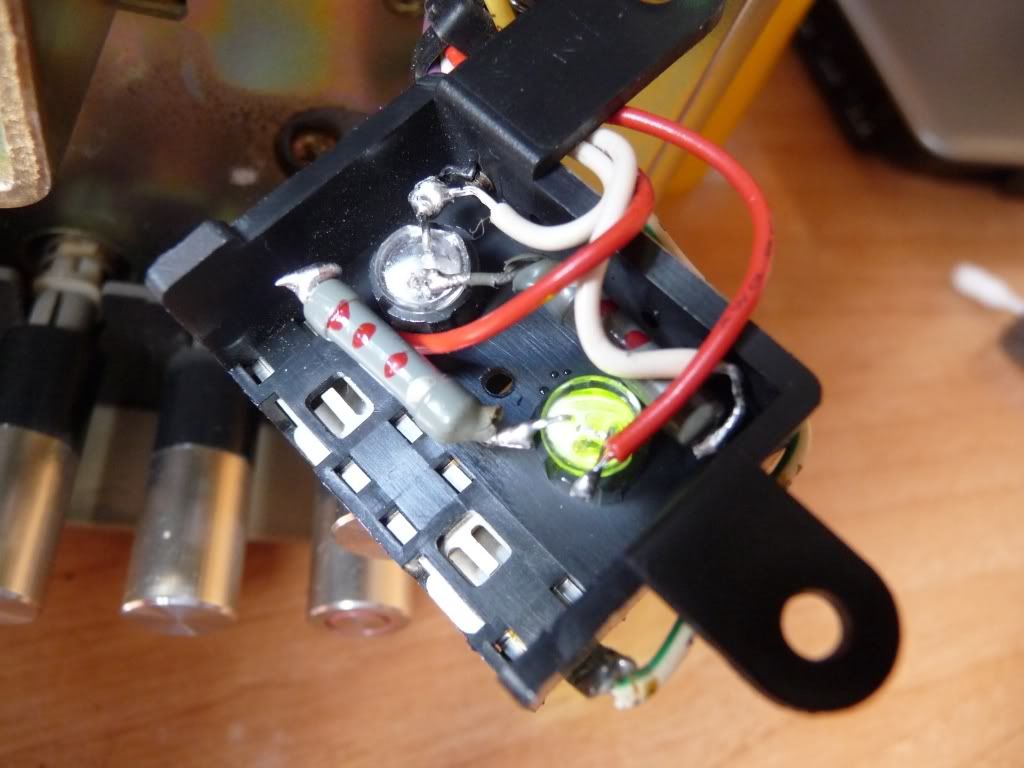
4- Solder the balast resistor to the cathode of the led (in the image is shown the first resistor that I tried). Use a simple tester to know which wire will go to the cathode and which one to the anode.


5- Put the led inside the original socket
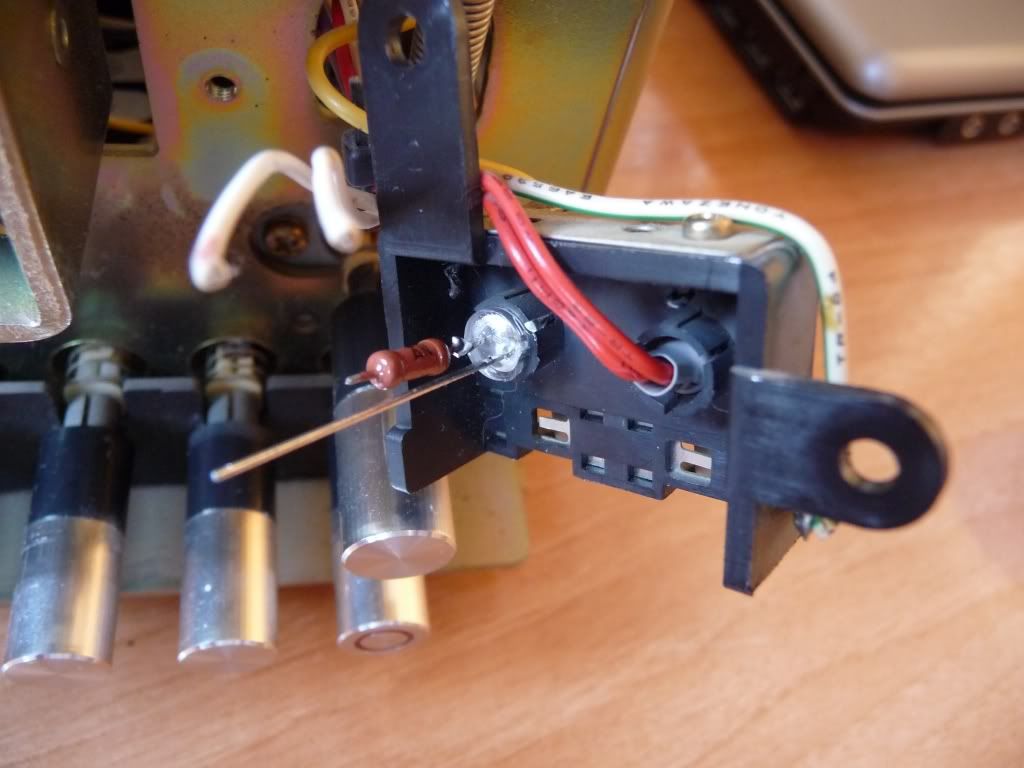


6- Solder the wires to the led and the balast resistor
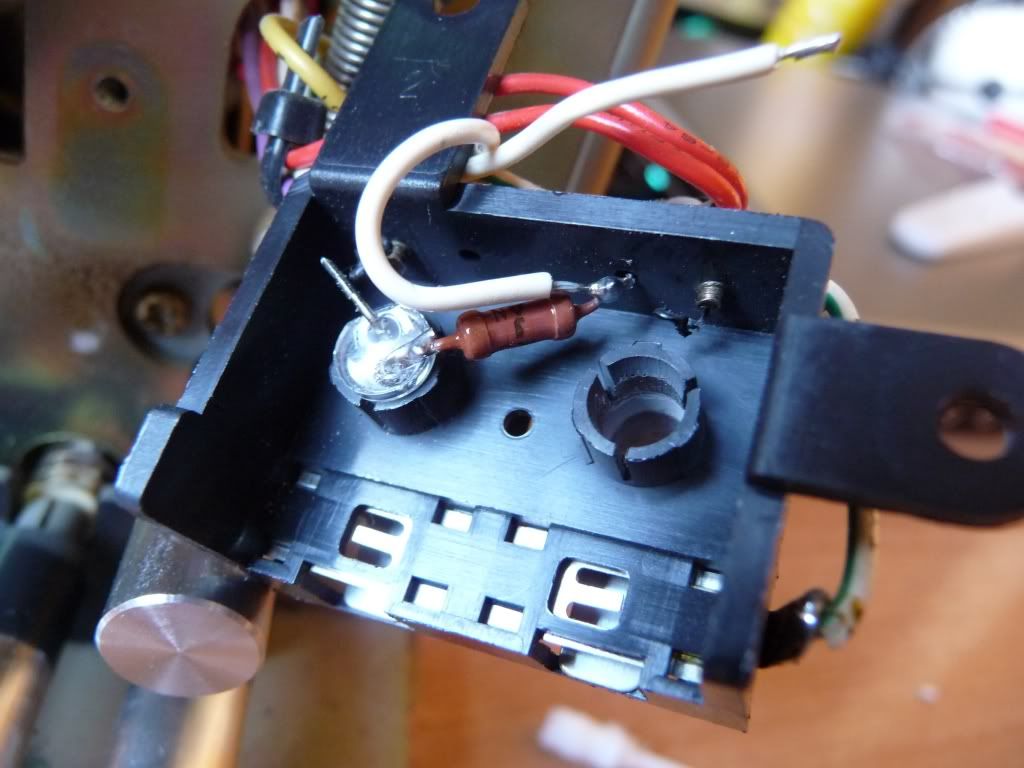


Here is another pic with the final balast resistor selected, 2.2 KOhms.
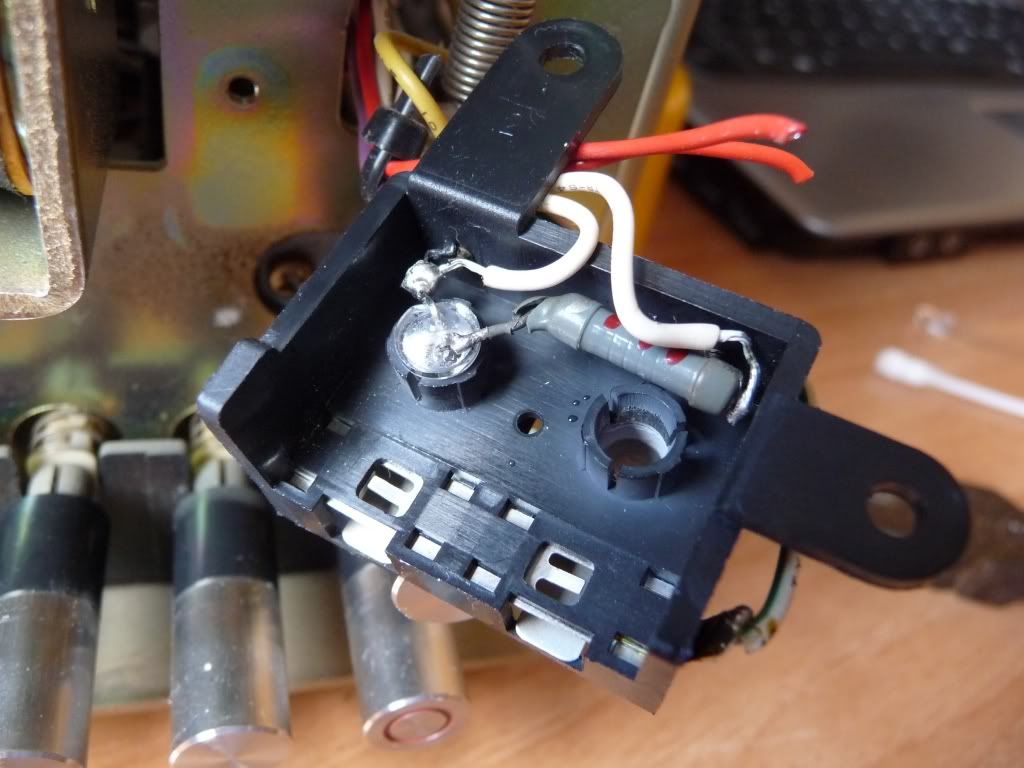


7- Solder the other direction led.


8- Test both direction leds.
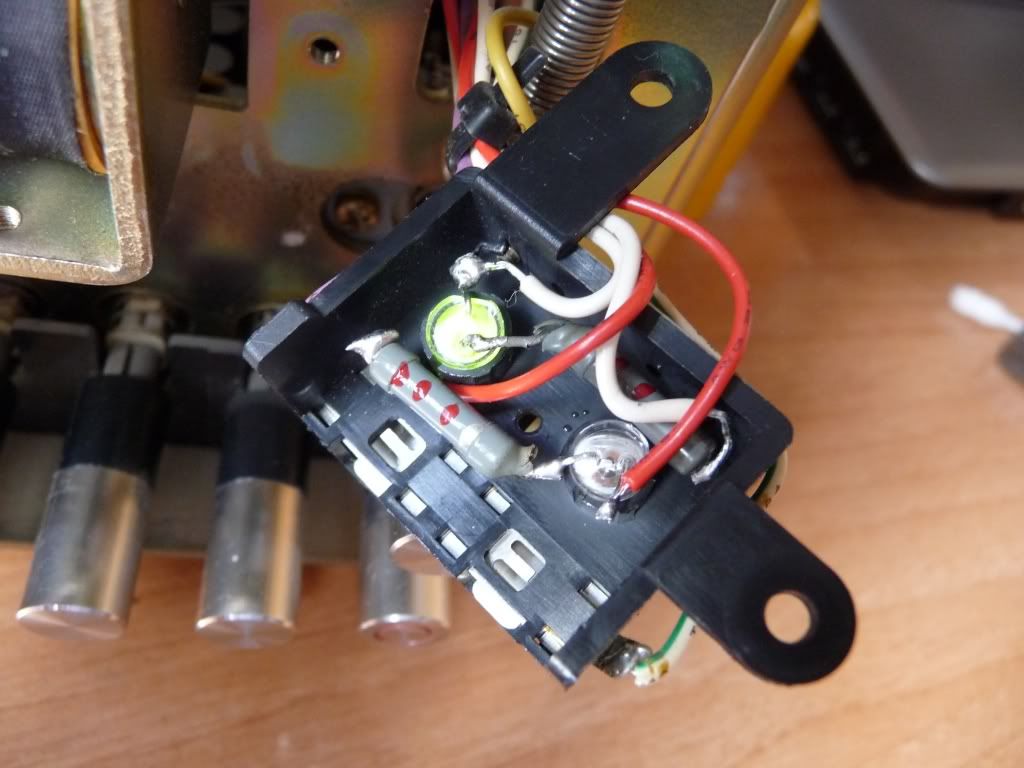


9- Put some electric tape in the chasis where will be hold the leds socket, to make a dielectric layer so that nothing wrong happens if some wire of the new leds touch the bottom part of the socket once it has been put in its original place
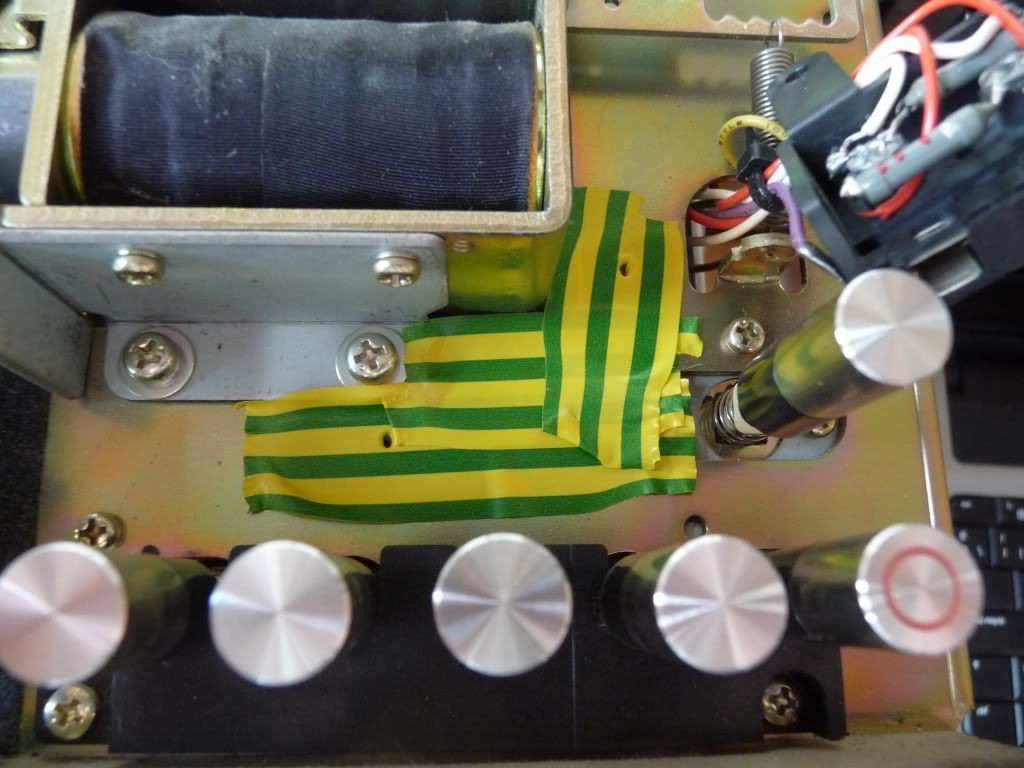


10- Put the leds socket in its place with the two philips screws and test the work
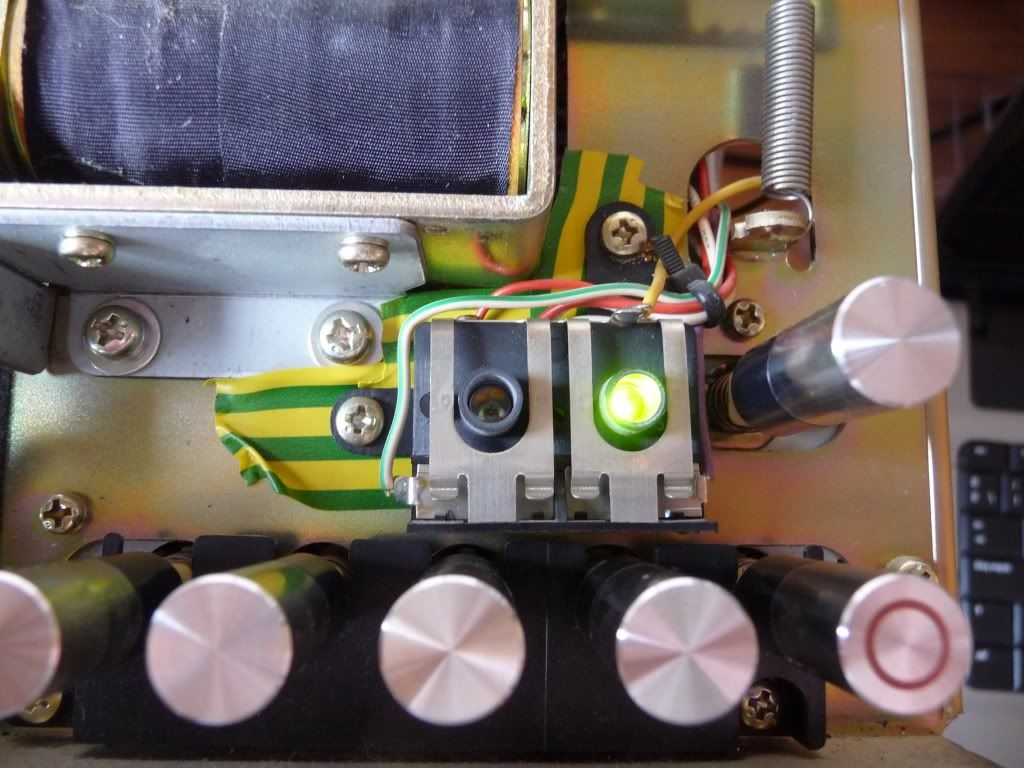


11- Put the front face and the cover in their original places.


Saturday, September 20, 2008

VID: Pioneer RT-707 playing Iron Maiden

Just another video showing a Pioneer RT-707spinning. Since I'm doing the videos with a photo camera and sometimes with a webcam, the sound is really bad, but at this time I'm unable to copy from the video camera to the computer, so until better news, both video and audio quality won't be as good as in the first videos, but I think the top quality is not the goal when the videos will be watched in YouTube.

This time with two ReVox 7" metal reels, one in blue and one in gold, spinning at 19cm/s - 7.5 ips that contains close shots so that every detail can be watched.

I wish you like and enjoy it.

Thursday, August 14, 2008

VID: Pioneer RT-707 playing Jazz

This was probably the best of the 7" reel to reel decks ever made, built like a tank.

It has three motors (all direct drive), four heads (erase, record and forward and reverse playback), two speeds (7.5 and 3.75 ips / 19 and 9.5 cms) and is autoreverse in playback mode.

The unique belt the machine has inside is the used for the counter. All transport functions are activated by solenoids and has big and real reading VU meters.

Has a switch for bias setting (STD and LH) and another for EQ setting (STD and LH), independent record channel modes, pitch control, autorepeat function and line and mic input knobs with mix signal function. In the backside, it has independent output volume knobs.


Saturday, May 31, 2008

VID: Blade Runner OST

Recently I bought the 5 disc collector edition of the movie Blade Runner.

The Ultimate Collector's Edition is presented in a unique 5-disc digi-package with handle which is a stylish version of Rick Deckard's own briefcase. Included is a lenticular motion film clip from the original feature, miniature origami unicorn figurine, miniature replica spinner car, and collector's photographs, as well as a signed personal letter from Sir Ridley Scott.


But what about the original soundtrack of the movie?. I couldn't resist to make a home made open reel tape with it.

Here is the video:


Sunday, January 20, 2008

REP: Restoring Pioneer RT-707 VU meters

Although it's rare that the red color turn into a discolored orange, I found it in a deck that has been lot of years exposed to direct sunshine in a sunny area somewhere in the south of France.

When I bought this deck thru eBay, I ditn't realized in the discolored meters. Really I bought it to restore, since it was announced as a not working unit.

More than one year has passed from that moment. I asked other people for ideas to restore the color again and, after thinking all purposes, finally decided to make a new scale using a computer paint program. The idea was to make the new ones just exactly the original ones.

I worked with high resolution images with several layers, put over a pic of the original scale to ensure that new scale is in the same place. One problem was the original font used for "PIONEER ELECTRONIC CORP.". After searching for more than one hour, I found a very similar but not identical, but close enough to pass the test of anyone.

After opening the deck and get the meters accesible, I disoldered both so that I can work with them safelly and more confortable.

To open the meter is very easy. Like most cases, it only has a few pieces of adhesive tape, in this case, three. After cutting them, the cover of the meter can be removed:


The scale is printed over a fine metallic piece, so I used a cutter between it and the plastic base of the meter to cut the glue that join both. It must be done very slow and carefully.

I decided to print the new scales into stikers so that I can adhesive them in the other side of the original metallic piece where was the old scale.

One problem is to find the adecuate mosts similar background color to the original one. Although I took different shots, I were sure that after printing it would be different.

In a DIN A4 paper I printed 16 stickers, 4 left and 4 right, one time with a darker background that the original one, and one time with a lighter background.

After printing it in a laser color printer, none of them had the same background tone color than the original one, so I decided to use the lighter one although it was mostly identical to the white color.

Before put the cover of the meters, I tried to reduce the scratches in the transparent plastic cover, so I used toothpaste bacause is a good polish that respects well the transparent plastics.

Isn't easy to put the sticker perfectly over the metallic part so that the scale be perfectly where was the original.


And here is the final result:


And a closed pics of the meters, before and after restoring:


Monday, December 31, 2007

TIP: Testing alignment

To do a good diagnostic about head alignment, and to do a good alignment job, is needed an alignment test tape and some hardware like a frequence counter.

I wanted to align a Grundig TS-1000 play head and decided to use other decks to help me in a home made method. I compare the sound of a tape, in real time, between the Grundig and other two decks, a Pioneer RT-1020H and a Pioneer RT-707.

To do this is easy and very helpful. I made a video showing the moment when I test the sound of the just aligned deck. However, the sound of the RT-707 was wrost than normal because there were hardly back tension. If the tape is played back normally, the sound is correct.

Anyway, the RT-1020H is enough for the purpose. I used the same method in the past to test the sound of the RT-707 when I did alignment and was very accurate.