Showing posts with label RT1020. Show all posts

Friday, July 17, 2009

AN: More photographies

They were shot two days ago.


Saturday, September 27, 2008

VID: Pioneer RT-1020H spinning at 15 ips

This deck eat tape very fast when runs at 38 cms / 15 ips, but spins really fast when it's used 7" reels.

In the video can be also watched all the buttons and lettering in detail.


Sunday, August 3, 2008

VID: Pioneer RT-1020H

Recording from CD in first place and playing back later. The sound is not good and the image is mid quality because all was captured using a webcam.

Cool blue reels spinning!


Sunday, May 11, 2008

TV: MacGyver

Release date: Febrary 1989

Episode 4x10: Fraternity of Thieves


Pioneer RT-1020L. Both reels are Sony and the NAB hub adapters appear to be the original ones, Pioneer PP-220A.

Monday, December 31, 2007

TIP: Testing alignment

To do a good diagnostic about head alignment, and to do a good alignment job, is needed an alignment test tape and some hardware like a frequence counter.

I wanted to align a Grundig TS-1000 play head and decided to use other decks to help me in a home made method. I compare the sound of a tape, in real time, between the Grundig and other two decks, a Pioneer RT-1020H and a Pioneer RT-707.

To do this is easy and very helpful. I made a video showing the moment when I test the sound of the just aligned deck. However, the sound of the RT-707 was wrost than normal because there were hardly back tension. If the tape is played back normally, the sound is correct.

Anyway, the RT-1020H is enough for the purpose. I used the same method in the past to test the sound of the RT-707 when I did alignment and was very accurate.


VID: Pioneer RT-1020H running at 7.5 ips

Here is a Pioneer RT-1020H playing a Basf LP35 tape where is recorded Kraftwerk's "Tour de France" album. The sound quality is real good. The tape was recorded from vinyl in the first play.


Tuesday, December 18, 2007

REP: Pioneer RT-1020H VU meter lamps

The next step with the Pioneer was to substitute meter lamps. The original ones are poor bright. When changed the rec leds measured the voltage across the meter lamps and was 5V AC.

This time as spare part I used Christmas lights... yes, I thought they could be perfect for this job because they are 6V AC, then I used two in paralel by meter so that the bright were correct... in theory.


I cut a piece with 6 bulbs and made a fix so that the lights outside still working.
This was the original bulbs inside the meters in the Pioneer RT-1020H just a minutes before I began to do the job.


To start, I unscrewed the bottom front panel. There are only four screws and pull out all knobs and the bottom panel can be retired.

I shot pics from the right and left meter to reminder me where was each wire, because I prefered to unweld the wires and work in the meter stand-alone on top of the table.


To open the meter it's very easy. On the back it has two little pieces of adhesive tape. I cut it and opened the meter to access to the bulb and unweld it.


These are the original meter lamps:


And these are the Christmas lamps that I'd use, two per meter:


After doing the job, this is the final result:


They not bright too much, I think that the amount of light is the correct in each meter if I compare it with other meters.
There were been better to use original spare parts, but if you are in a hurry or don't want to spend money in used or NOS parts that are a lot of years old, this could be a solution.

REP: Pioneer RT-1020H rec leds

Today I've decided to open this unit to try to access the rec leds to replace both.

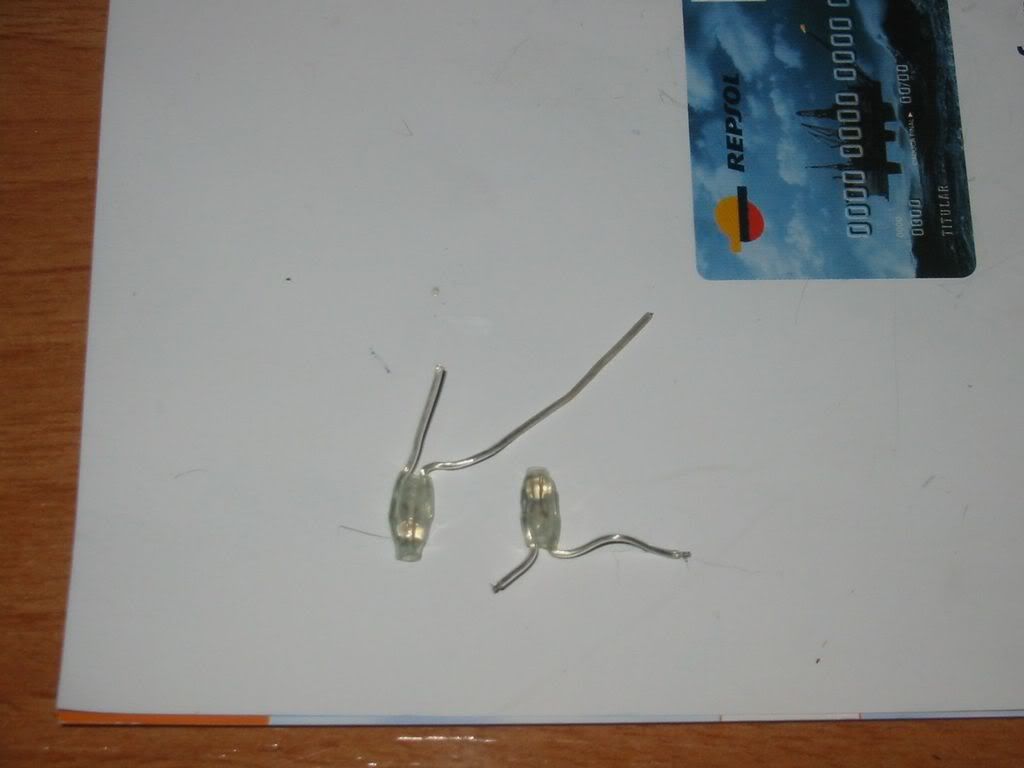
All we know that leds last lot of time, but with +30 years they aren't so bright and the red color is dark. As I had bought five 5 mm. red leds and used only one, I wanted to replace the old ones with these transparent brand new red leds.

Watching the deck I thought that easiest way yo access the leds was to open the bottom front panel. To do that, it was necesary to pull out all the knobs. My first problem was with the smalest ones, the vertical switches for REC, PLAY, METERS and MONITOR. The original owner had glued them to the switchs, so I decided to use some contact cleaner and use... the force, but carefully for not to make any mark.


After some seconds of uncertainty, I was able to remove them:


The switches were full of dry glue:


After that, the four screws of the bottom front panel can be unscrewed. I noticed that the upper screws were longer than the bottom ones. Now I can pull off the bottom front panel.


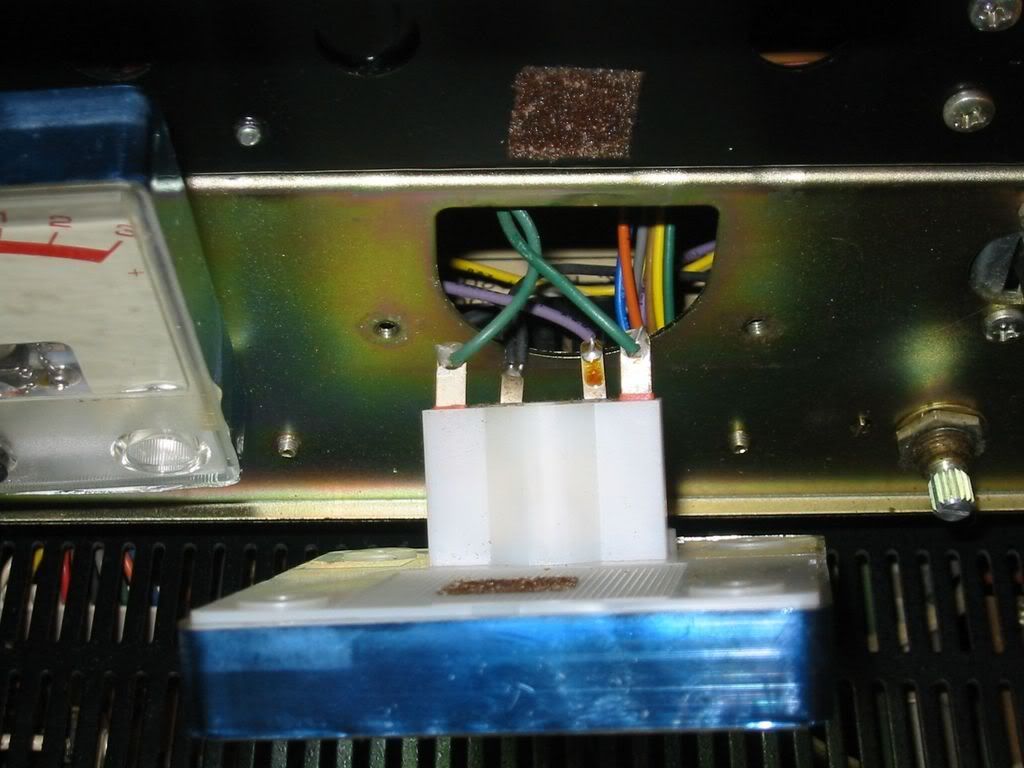
Although I even unscrewed all screws from the rectangular black panel, it was very hard to pull it out. On the other side there were lot of wires and a big capacitor with the wires too short, so I decided to open the backside of the deck to try to access the leds from the back, but before do it, I measured the voltage in the VU meters lamps for a future replacement because they light just a few. They are 5V AC.


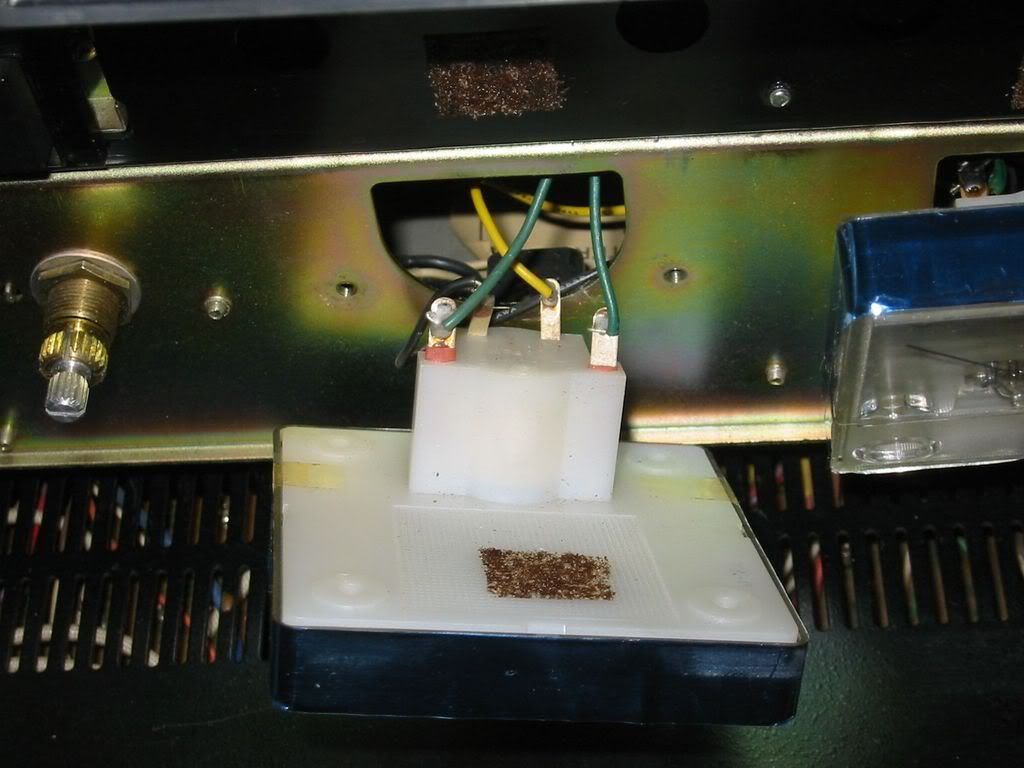
After removing the back panel of the deck, I unscrewed the small boards where are the leds, each one in a very small board as can be watched in the next pic:


Good moment to clean the fuses with some contact cleaner. The right ones are used for the VU meters lamps.
There's no too much space to use the iron rinner. It would be easier to do it from the front panel, but as I said before, I didn't want to pull it off because the big capacitor that is shown in the pics, so... patiente and good pulse.
After several times where leds fell inside, I was able to get them in the correct place:


The new ones are transparent but they light in a bright red color. After testing them using a small battery to be sure that they were correctly placed in the board, I screwed both boards again:


This picture was taken from the front side of the deck to show if they were correctly put in their original places.


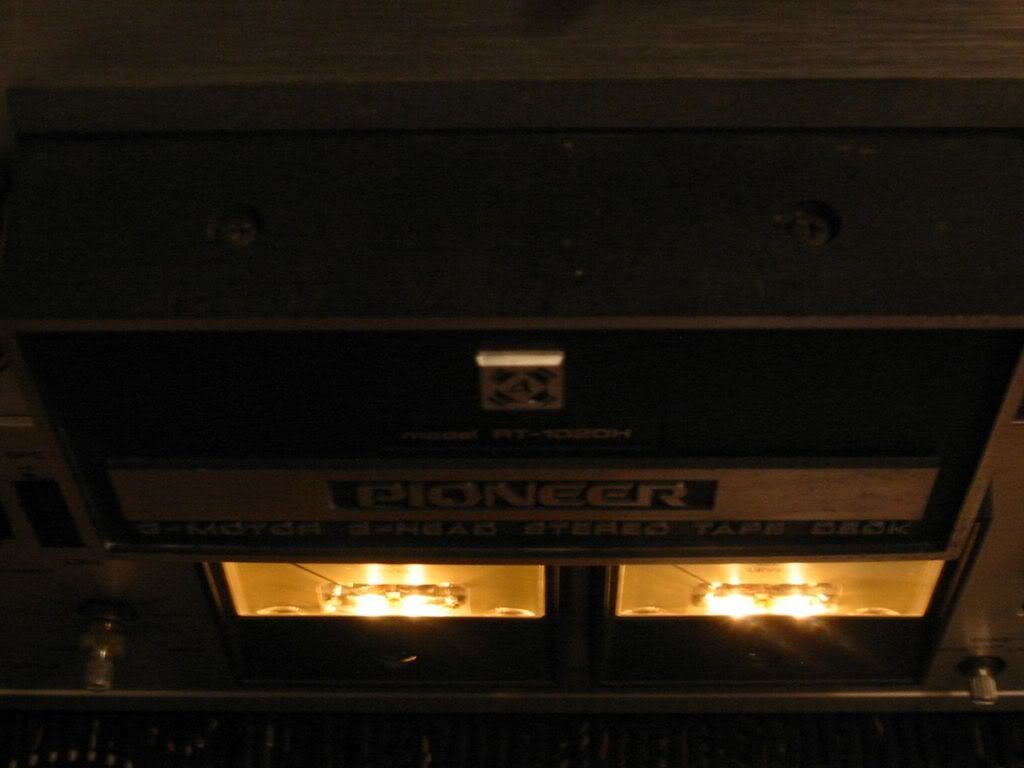
Now this is the look of the front side with the new leds. First pic in play mode and the second in rec mode:


They now look pretty and always know when I'm in recording mode. Sometime ago I thought I was recording and had the rec switches off, but the leds seemed to be lighting due to the direct light of the sun. This won't ever occur with these transparent leds.