The next step with the Pioneer was to substitute meter lamps. The original ones are poor bright. When changed the rec leds measured the voltage across the meter lamps and was 5V AC.
This time as spare part I used Christmas lights... yes, I thought they could be perfect for this job because they are 6V AC, then I used two in paralel by meter so that the bright were correct... in theory.
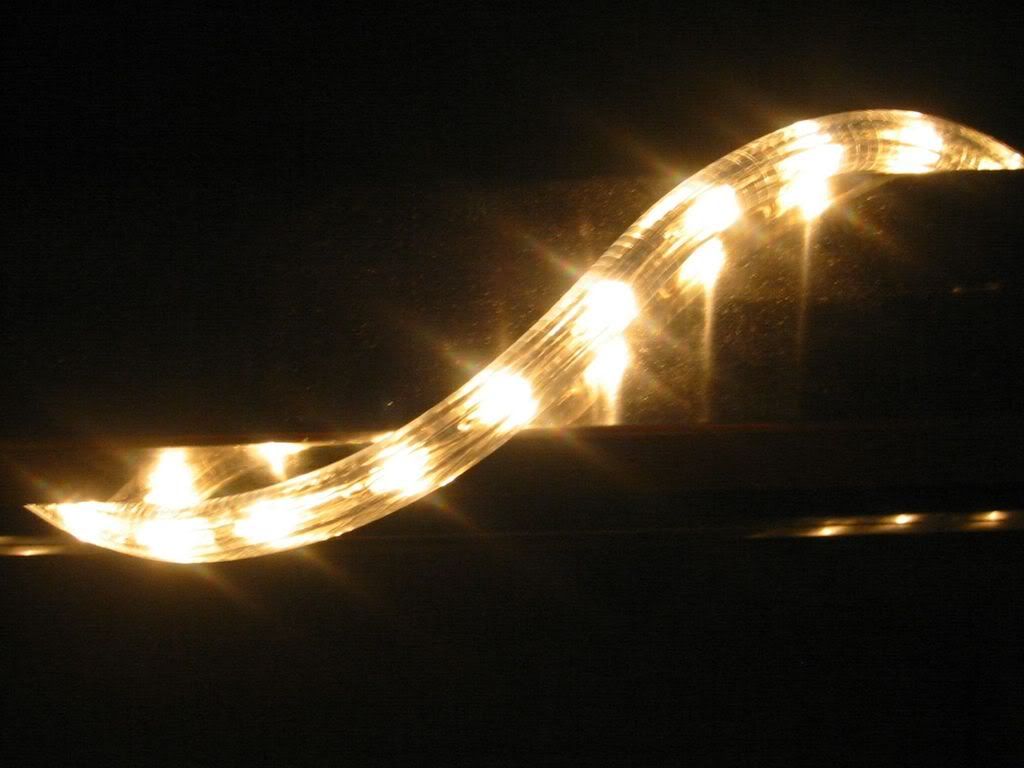
This time as spare part I used Christmas lights... yes, I thought they could be perfect for this job because they are 6V AC, then I used two in paralel by meter so that the bright were correct... in theory.

I cut a piece with 6 bulbs and made a fix so that the lights outside still working.
This was the original bulbs inside the meters in the Pioneer RT-1020H just a minutes before I began to do the job.
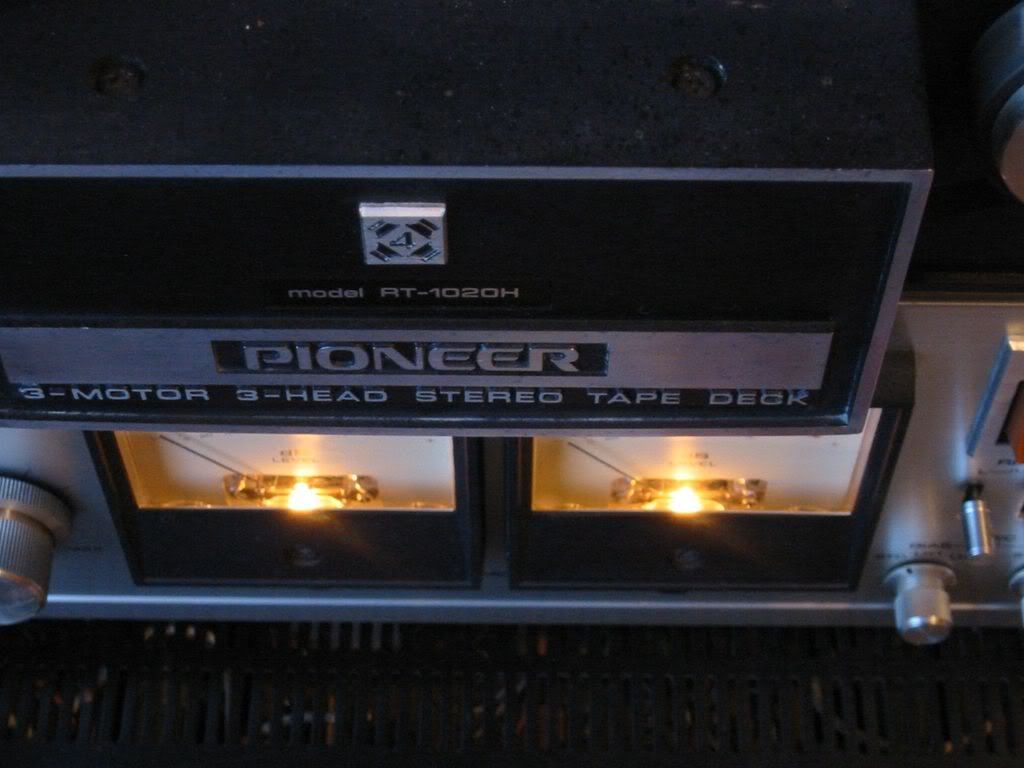

To start, I unscrewed the bottom front panel. There are only four screws and pull out all knobs and the bottom panel can be retired.
I shot pics from the right and left meter to reminder me where was each wire, because I prefered to unweld the wires and work in the meter stand-alone on top of the table.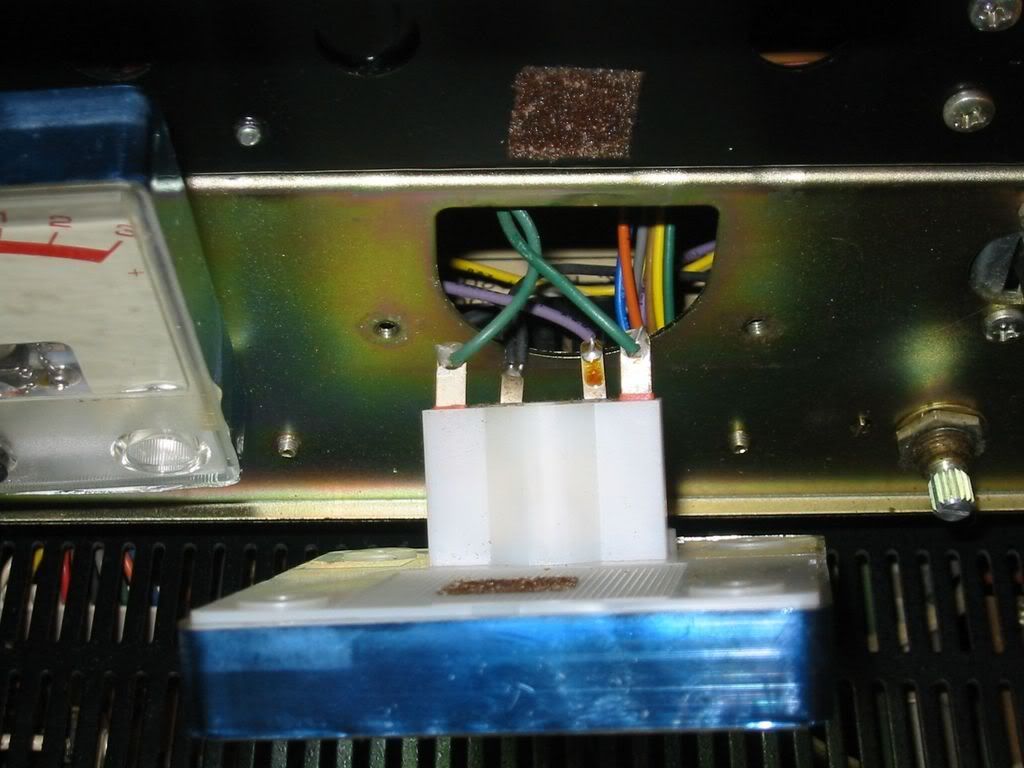
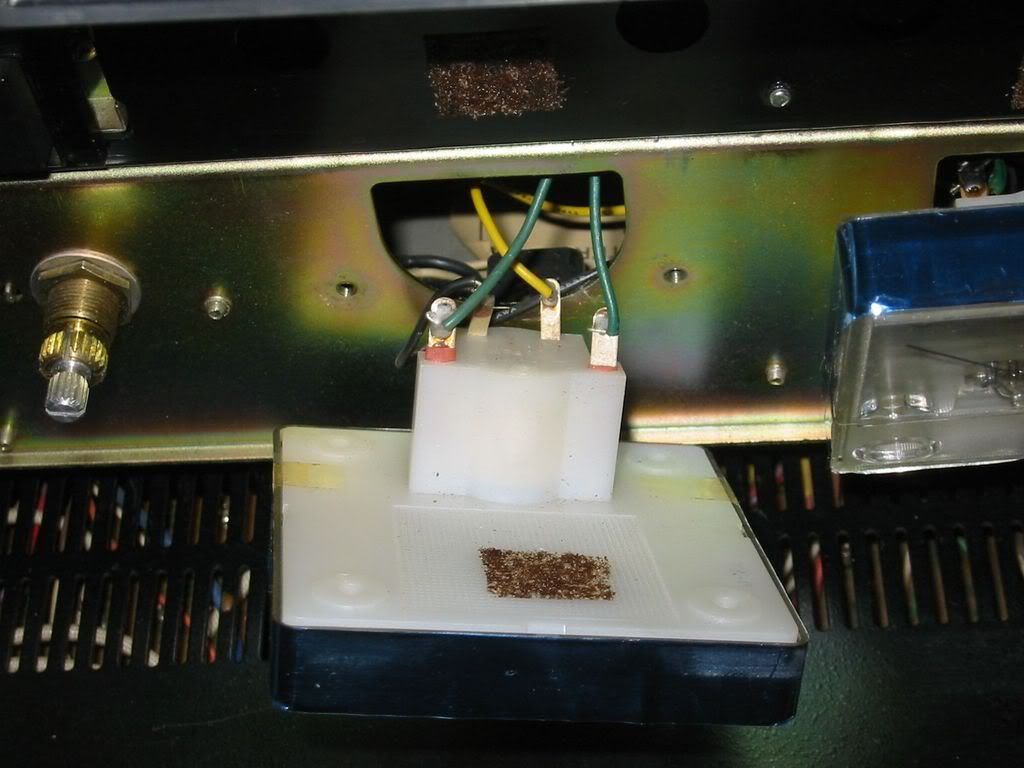
To open the meter it's very easy. On the back it has two little pieces of adhesive tape. I cut it and opened the meter to access to the bulb and unweld it.
These are the original meter lamps:
And these are the Christmas lamps that I'd use, two per meter: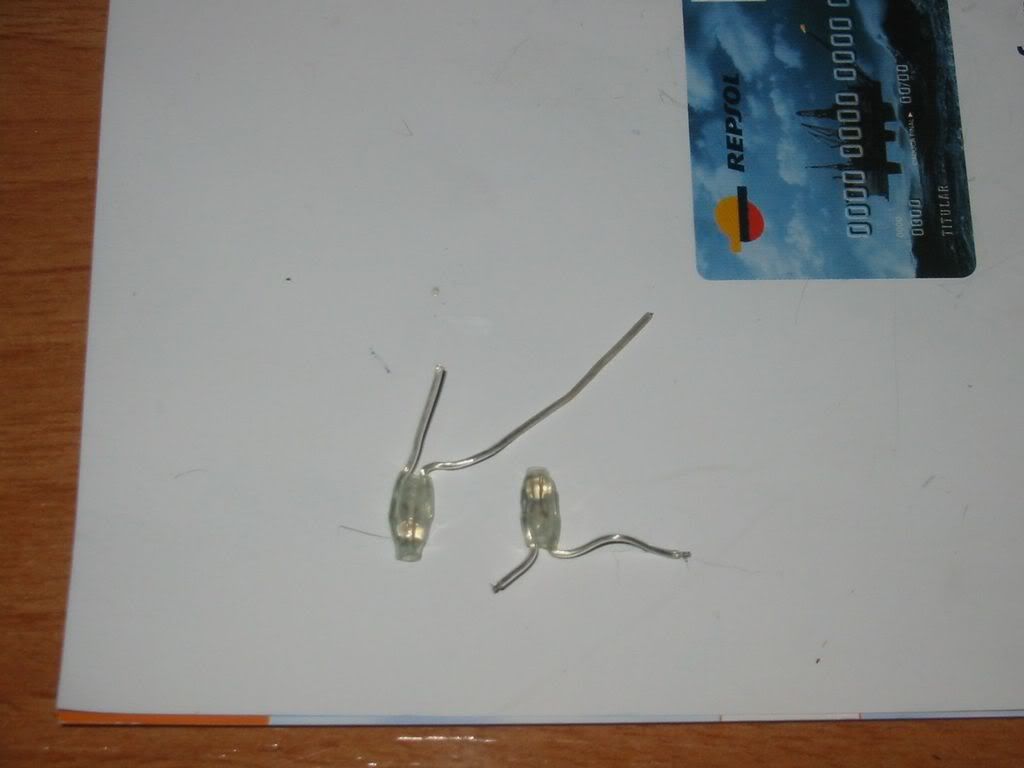
After doing the job, this is the final result: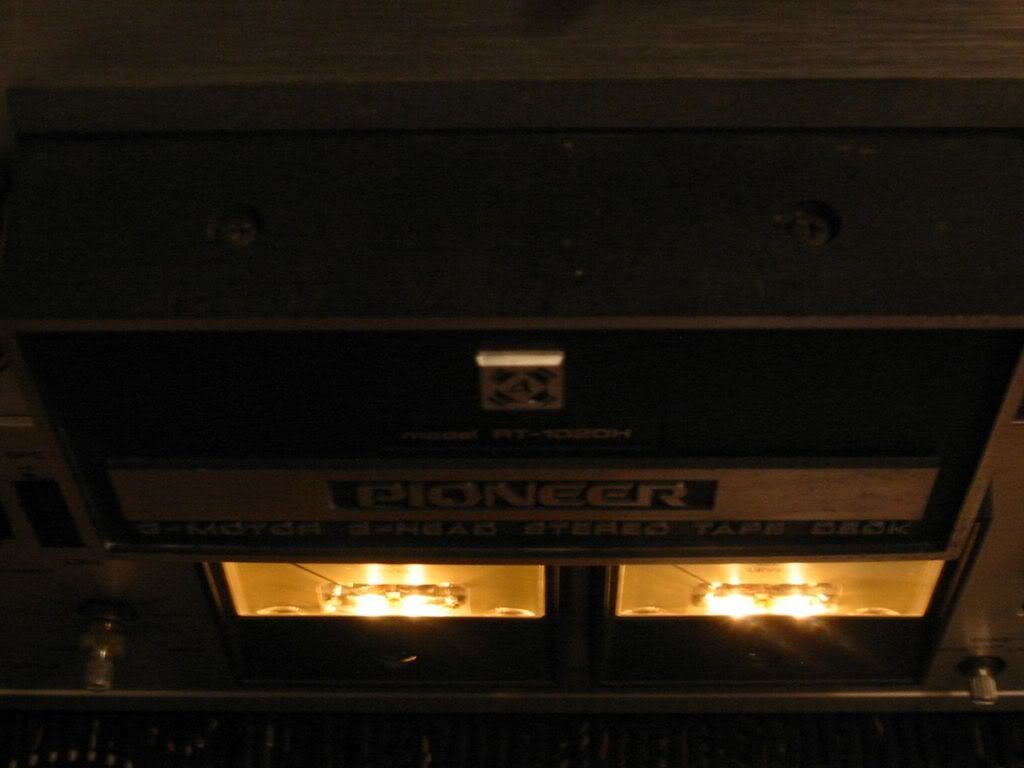

They not bright too much, I think that the amount of light is the correct in each meter if I compare it with other meters.
There were been better to use original spare parts, but if you are in a hurry or don't want to spend money in used or NOS parts that are a lot of years old, this could be a solution.


No comments:
Post a Comment